One of the first problems with working with anything bigger than fairly small-sized slabs is that the clay has a tendency to stretch under its own weight when you flip it over between rollings...

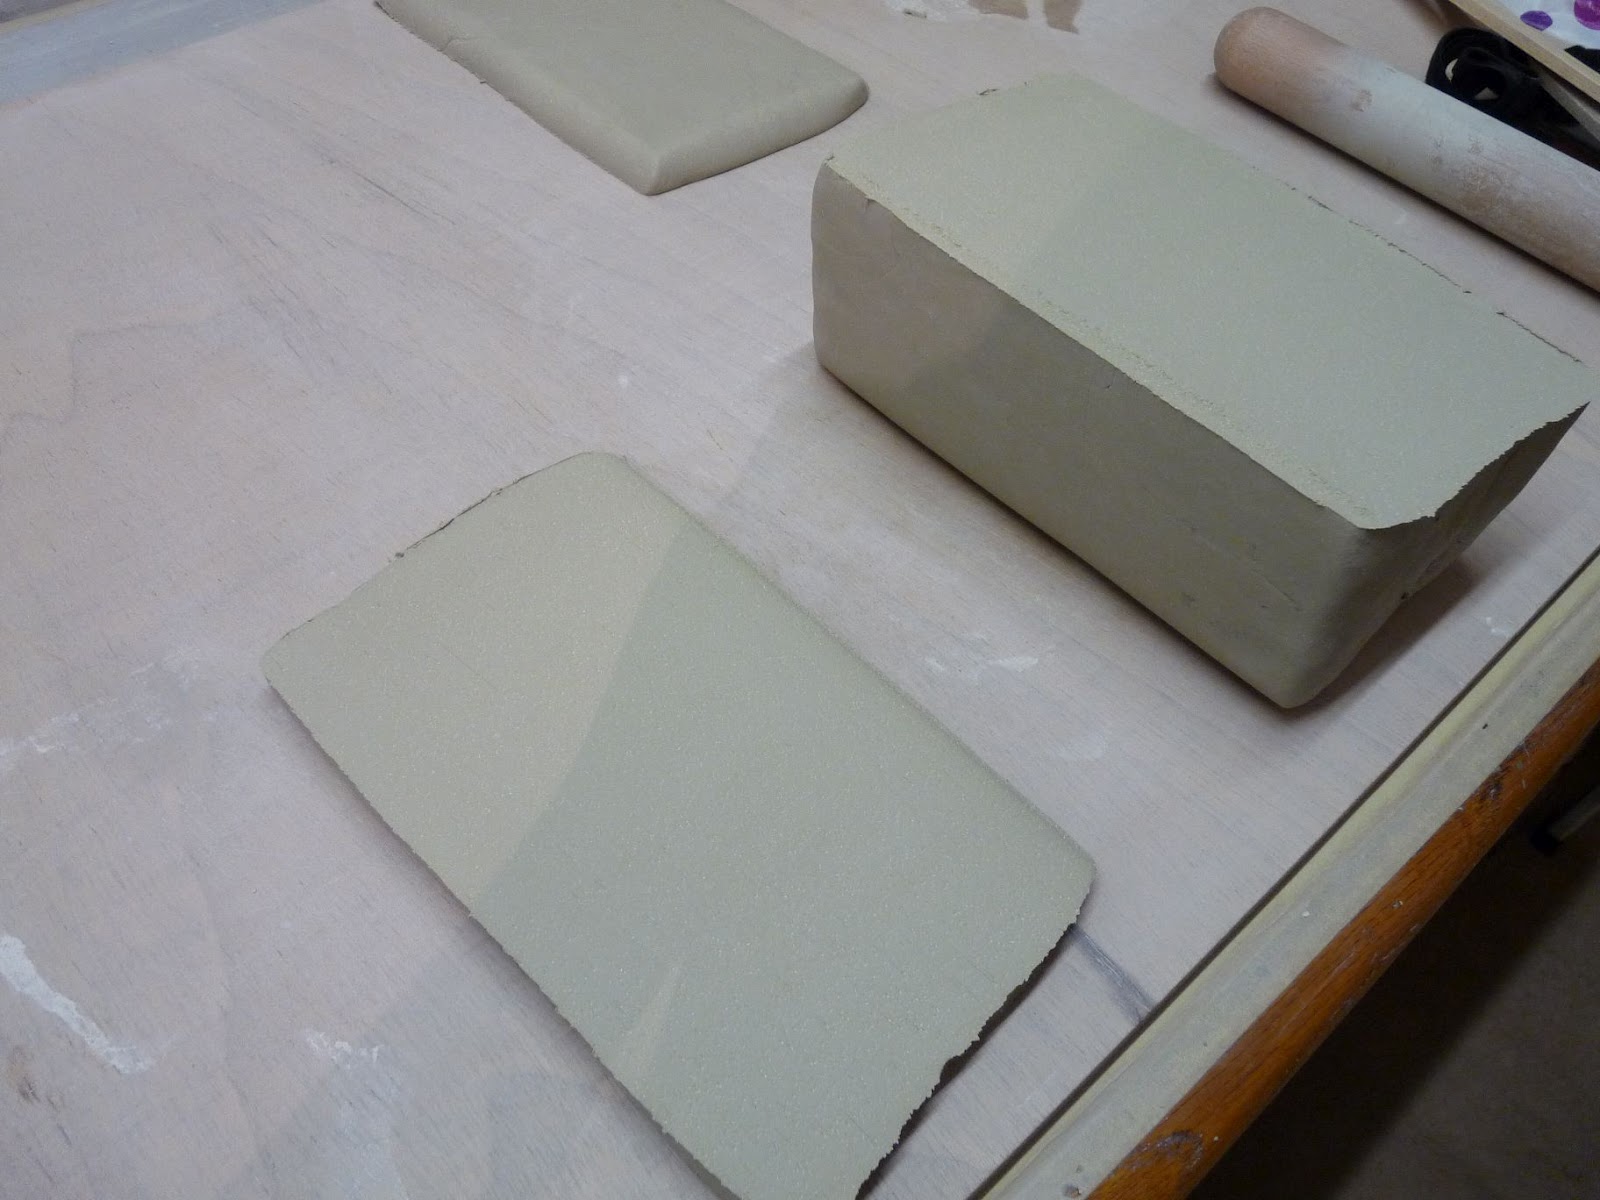
Before beginning to roll out the slab, I stop and think about the desired final shape of the slab - is it rectangular, square, round, other... ? Whatever shape I want, I try to start with a block of clay that looks like it might roll into that shape! From the bag, I wire off a large lump of clay, trying to avoid tearing or folding the clay. I then bash this into shape using a combination of repeatedly dropping on it to the workbench, thumping with my fist and patting into shape, again avoiding tearing or folding. Depending on the size of slab I want, I may cut this larger lump into multiple thick slabs. If the clay is uneven in thickness to start with it, it will stretch and bulge in all the wrong places when rolled. The ideal tool for cutting thick starter slabs is a metal harp as this gives a lovely, controlled, even cut:

Once I've got my clay ready, I lay it on a piece of cloth that is twice is as big as the slab I'm going to roll and begin rolling. I use a long straight-sided rolling pin. A pair of wooden slats of even height serve as guides. (It pays to have a good supply of pairs of wooden slats of varying heights.)

It's necessary to frequently turn clay between rollings in order to ensure optimum and even stretching without dragging or sticking; this is where the tablecloth comes in very useful. To flip the clay, I fold the tablecloth in half over the clay and then flip the whole thing over, peel back the cloth and carry on rolling the clay on the other side:


The use of the cloth in this way is extremely effective with really large slabs as it maintains the shape and prevents unwanted stretching between flips. If the clay is particularly sticky it will stick to the rolling pin, so it might be necessary to roll it sandwiched in between the cloth - i.e. just roll on the cloth rather than the clay. However, it's better if the clay isn't so damp that it sticks to the rolling pin; keeping the rolling pin wiped cleaned between rolls will make this less likely to happen too.
So that's my technique for rolling slabs; other potters may have better methods but that'll work fine for me until I have room to accommodate a proper mechanical slab roller!
For my next trick - making a plaster cast of a 20 inch salmon... watch this space....
Terrific article. Thanks for the tips. Looking forward to using this technique. :-)
ReplyDelete